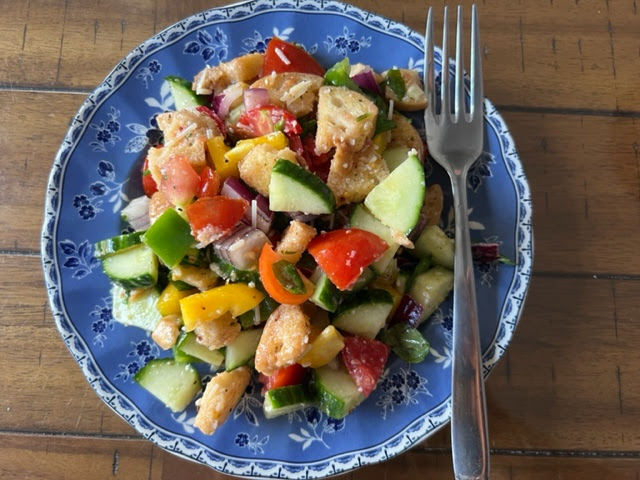
Panzanella Salad
Monday, October 3, 2022
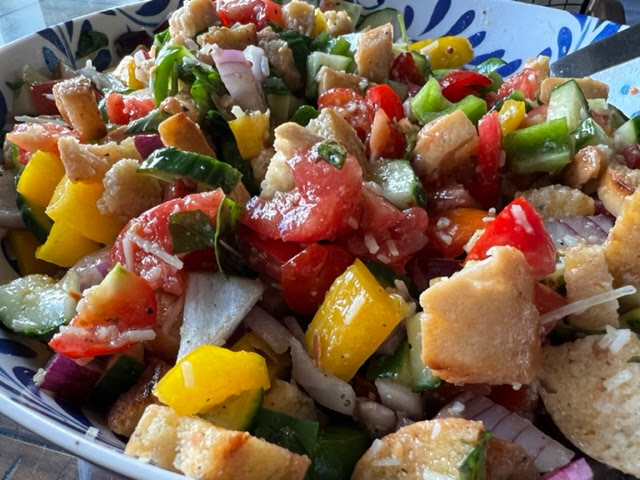
Is anyone else's garden bursting with goodness right now? Or at least maybe you're tempted by the cheaper prices on all the in-season produce at the grocery store. This recipe for panzanella salad was one I discovered a few years ago to use up some tomatoes and cucumbers in my garden and it's one I've been tweaking ever since then. This year I think I finally got it just the way we like it and I'm excited to share it with you now. Never heard of panzanella salad? It's an Italian salad that combines stale or toasted bread with fresh veggies. My family is obsessed!
Just a note: If you don't think you'll be eating all the salad at once, then combine all the ingredients EXCEPT the bread. Add bread to individual servings as needed. That way the bread won't get soggy.
Just a note: If you don't think you'll be eating all the salad at once, then combine all the ingredients EXCEPT the bread. Add bread to individual servings as needed. That way the bread won't get soggy.
THE INGREDIENTS:

1/4 cup olive oil
16 ounces (or so) french bread (or gluten free bread), cut into 1-inch cubes
1-1/2 - 2-lbs. fresh tomatoes, seeded and coarsely chopped
1 large cucumber, coarsely chopped
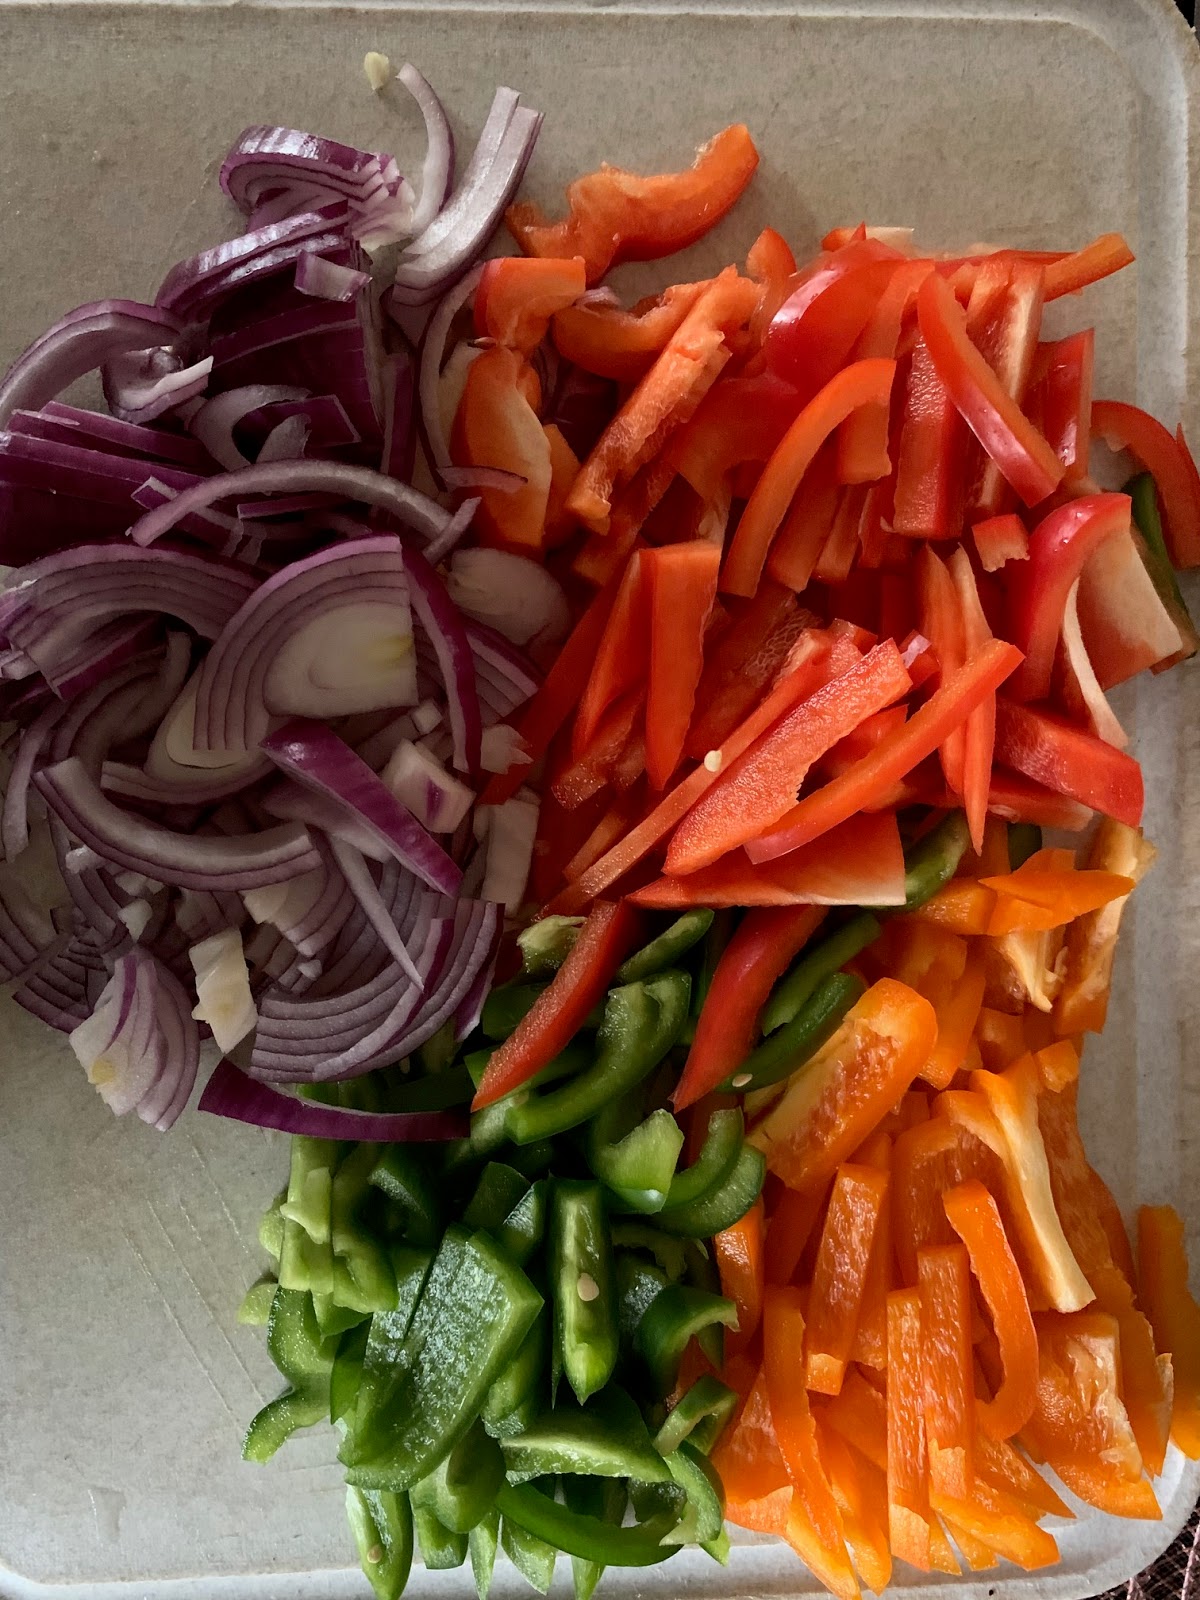
2 bell peppers (any color), chopped into 1-inch pieces
1/3 cup red onion, thinly sliced
1/2 cup coarsely chopped fresh basil
1/4 cup freshly grated parmesan cheese
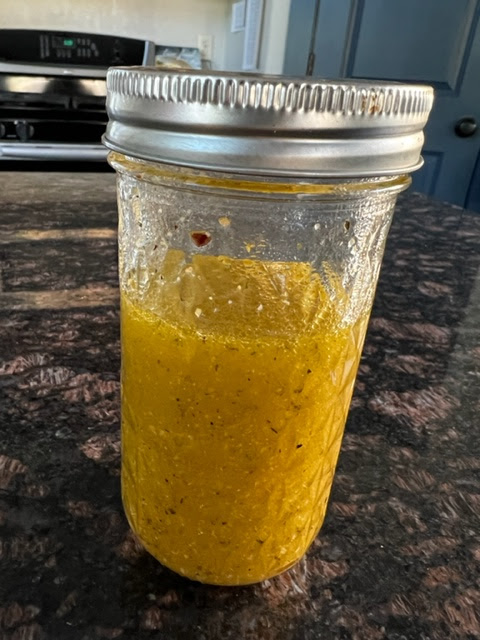
1 envelope Good Seasons Italian seasoning mix, prepared as directed (1/4 cup apple cider vinegar + 3 Tbs. water + 1/2 cup olive oil + 1 tsp. salt, 1/4 tsp. pepper)
THE DIRECTIONS:
1 large cucumber, coarsely chopped
2 bell peppers (any color), chopped into 1-inch pieces
1/3 cup red onion, thinly sliced
1/2 cup coarsely chopped fresh basil
1/4 cup freshly grated parmesan cheese
1 envelope Good Seasons Italian seasoning mix, prepared as directed (1/4 cup apple cider vinegar + 3 Tbs. water + 1/2 cup olive oil + 1 tsp. salt, 1/4 tsp. pepper)
THE DIRECTIONS:
Cube the bread into 1-inch pieces. Add 1/4 cup olive oil to large frying pan over medium-high heat and toast the bread cubes, stirring frequently until golden brown and toasty. Set aside until just before serving.

 Chop veggies into 1-inch dices. Combine into large bowl.

 Prepare Good Seasons dressing mix as directed on package, plus add additional salt and pepper. (1/4 cup apple cider vinegar + 3 Tbs. water + 1/2 cup olive oil + 1 tsp. salt, 1/4 tsp. pepper). Set dressing aside until just before serving.


Shortly before serving, add the toasted bread cubes, parmesan cheese, basil, and dressing.


Enjoy!