Showing posts with label brownies. Show all posts

Brownie Santa Hats

Wednesday, December 5, 2012

I saw these online somewhere last year.  I don't remember where I saw it first, but now it is all over the internet, so I don't even know who to thank.  Anyway, these are cute and super easy.  You can get your kids involved to make these as well.  The hardest part might be finding decent strawberries this time of year. Ho Ho HO! 
Click here for printable recipe.


Post by: Jen


Ingredients:
brownie cake mix
 eggs
vegetable oil
Cool Whip
Strawberries

Equipment needed:
mini muffin tin
Piping bag with star tip (not totally necessary because you could use a sandwich baggie if needed)

Directions:
Grease 2 mini muffin tins (with spray).  Preheat oven to 350 degrees or whatever it says on the back of your brownie box.

 Follow the directions on the back of the brownie box.  Mix in your eggs and oil well.
Spoon batter into mini muffin tins.  It may only take one or one and half tablespoons of batter.
Bake in oven for 10-15 minutes (depending on how done in the middle you like your brownies.  If not sure, then cook them until a toothpick inserted in the middle comes out mostly clean.
Let cool completely on a wire rack.
Meanwhile, wash and dry the strawberries you are going to use.  You will be using one strawberry per mini brownie. (unless you manage to eat a couple brownies while they're warm of course).  Cut of the tops of the strawberries so they can stand up flat.
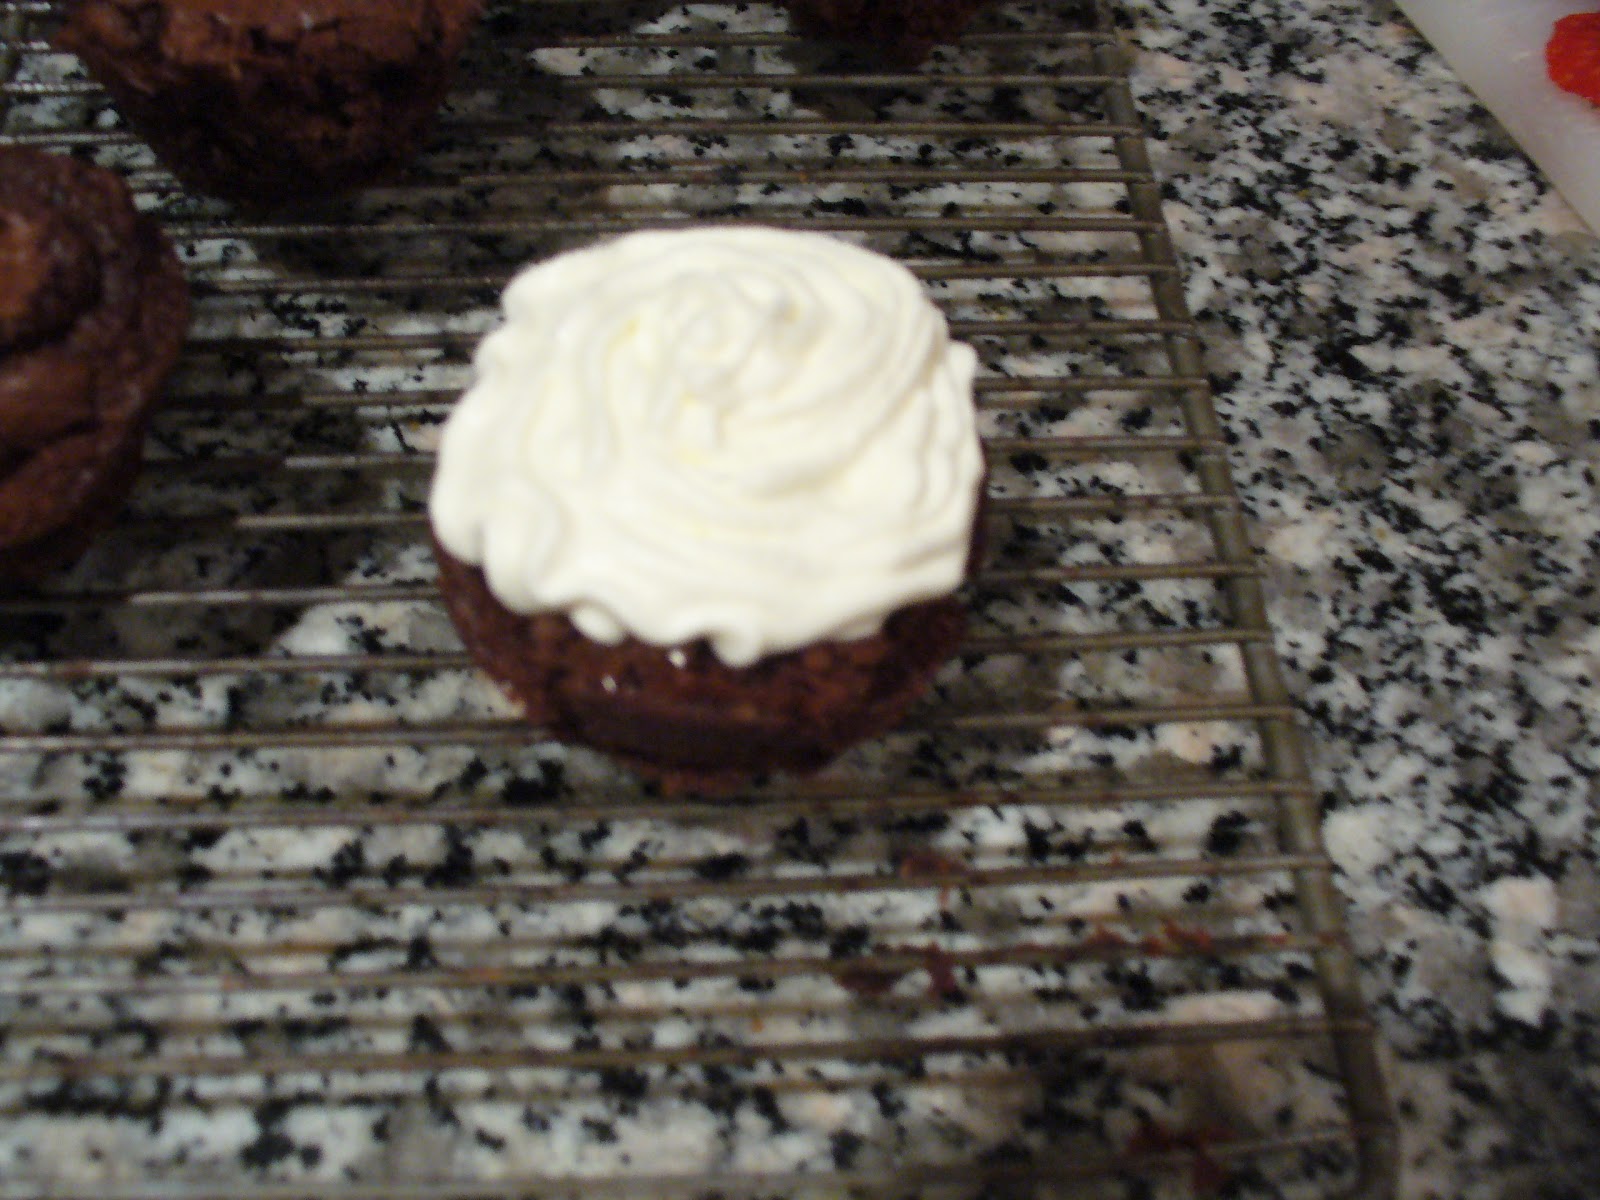
Spoon the Cool Whip into a piping bag fitted with a star tip.  Or just use a sandwich baggie with a little corned cut out.  But then you may not have a cute dollop of cream on top to look like a ball.  * Use Cool Whip because it will last longer when piped.  If you are serving these immediately, then you can use real whipped cream but it won't hold it's shape for long . OR if you have a recipe you like for decorating whipped cream then use that.

Squirt out some cream on top of the cooled brownie.
Push the strawberry into the middle a little bit so that some of the cream will come up the bottom sides of the berry.
Pipe a little dollop of cream on top to look like the top of Santa's hat.
And now you have cute Santa's hats that are chocolaty and semi good for you thanks to the strawberry.

Read more...

Rocky Road brownies

Monday, February 20, 2012

Lara’s Aunt Debra here. Just to keep the wonderful chocolate recipes going for the month of February, here is a recipe that my kids love. They are huge brownie fiends but their favorite ice cream is rocky road. That sent me on a path to find a recipe I liked for brownies with the wonderfulness of marshmallows and nuts. After a few misses, I found a combination that worked well.


Rocky Road Brownies
(Adapted from Martha Stewart’s Everyday Food)

Ingredients:
2 sticks (1 cup) unsalted butter, cut into pieces
1 1/2 bags (18 ounces) semisweet chocolate chips
1 cup granulated sugar
1 cup packed light-brown sugar
1 tsp salt
4 large eggs
1 1/4 cup all-purpose flour
1 1/2 cup mini marshmallows
2 cup chopped walnuts, almonds, peanuts or whatever nut you choose (my kids go for the
peanuts)

Directions:

- Preheat oven to 350 degrees. Grease a 9 x 13 inch baking pan

- In a heatproof bowl, combine butter and 2 cups chocolate chips. Melt in the microwave on high >power for 3 to 5 five minutes, stirring occasionally.

- Into the chocolate/butter mixture, stir in sugars and salt. Once combined, stir in the eggs and then the flour, stirring just until combined. Mix in 1 cup of the walnuts.

- Spread batter evenly in prepared pan.

- Bake until a toothpick inserted in center comes out with a few crumbs attached, 25 to 30 minutes.

- Remove from oven. Sprinkle with chopped nuts, remaining chocolate chips and marshmallows. Bake until the marshmallows are puffed and beginning to brown and the chocolate turns shiny, roughly 5 to 7 minutes. (If you like your marshmallows extra toasty, turn on the boiler of your oven and use that for the last few minutes. Be sure to turn the pan every minute or so to ensure even browning.)

- Remove from oven and cool completely in pan. Cut and enjoy!

Read more...

Brownie mix in a jar

Sunday, December 11, 2011

Day 11's holiday recipe is for a yummy treat that doubles as a great gift.   I love this idea, Jen!  Make sure to come back every day in December for a new holiday recipe!

'Tis the season to give. Here is a simple gift in a jar to share with friends and neighbors. This is a recipe for an easy and yummy brownie mix in a jar. I got this from a Nestle Toll house recipe and I have used it many times in the past. In fact I used this a couple years ago with a group of 4 year olds to make their moms a Mothers Day present. The kids all had fun pressing the ingredients down into the jars. (Just make sure hands are clean first!)

Click here for printable recipe. 

Posted by Jen. 

The Ingredients:

1 2/3 c sugar
3/4 c cocoa
1 1/3 c flour
1/2 tsp baking powder
1/4 tsp salt
3/4 c chocolate chips
chopped nuts (optional)
1 wide mouth quart jar* (not pictured)
2-3 inch square of fabric and some ribbon

The Directions:
Place the ingredients, in the order listed in a wide mouth quart jar. After each ingredient, make sure you reach down in the jar and press down the ingredients so that they are packed in tight. (thus the reason for the wide mouth jar so you can reach your hand inside). I found that it was easiest to use a funnel (plastic or paper folded) to add the cocoa powder. Press down on the cocoa powder with a paper towel or napkin so that it doesn't stick to your hands. You'll need to use a paper towel (dry) to wipe down the sides of the jar if there is any cocoa residue. (sorry, I forgot to take a picture. My hands were dirty at the time) Make sure you really press down on the flour to get enough space for the chocolate chips. When it is all done, screw on the lid.Now place your fabric square on top and secure it around with a ribbon. (I found using a slip knot was easier to loop it around the fabric without it sliding all over.)

Attach a recipe card with the following instructions on it:

"PREHEAT oven to 350° F. Grease 13 x 9-inch baking pan. Pour brownie mix into a large bowl and stir. Add 3/4 cup melted butter, 2 large eggs, 2 Tbsp water and 2 tsp vanilla extract and stir well. Spread into prepared baking pan. Bake for 18 to 25 minutes or until wooden pick inserted in center comes out slightly sticky. Cool completely in pan on wire rack. Makes about 2 dozen brownies."


Now, you're probably wondering if these are any good. Because you don't want to give something to someone and not know the end results. So, I decided to do that for you.

Pour the mix in bowl and blend well.Add wet ingredients.Press/spread into greased pan. (the mixture was thick and my son had fun pressing it into the pan)Bake 18-25 minutes. (I actually did 22, but every one's oven is different).I really like these because they are so chocolaty. You could dust them with powdered sugar or as a special treat use mint chocolate chips in the mix. These are certainly easy to make as a gift and then to make again as a treat.
*Note: You may notice from the pictures that it doesn't look like all the ingredients are in this particular jar. And you're right. Unfortunately I can't get quart jars here in France and this particular jar was about 200 ml too small for this recipe. But, trust me, I've done this recipe before in the states with a quart jar. Just make sure that you press all the ingredients down to make room for the next one.

Read more...

Double Chocolate Caramel Brownies

Saturday, December 10, 2011

Day 10 at Recipe Shoebox's Holiday Treat series is sure to make you drool.  Make sure you come back every day in December for a new holiday recipe! 

A rich double chocolate brownie topped with cool creamy caramel icing.  Yeah.  It's as amazingly good as it sounds.  You'll need a candy thermometer (you can use your 40% off coupon at the craft store to buy it) to make the frosting, but believe me.....it's worth it!  We made them twice in a week and still are daydreaming about the next time...maybe tomorrow?  :)


Recipe Source:  Today's Mama
Click here for printable recipe. 

Posted by Lara. 

The ingredients:
BROWNIES

2 (1-oz.) unsweetened chocolate baking squares
2 (1-oz.) semisweet chocolate baking squares
1 cup butter, softened
2 cups sugar
4 large eggs
1 cup all purpose flour
1/2 tsp. salt
1 tsp. vanilla
3/4 cups chopped, toasted pecans, divided  (optional)
3/4 cups semisweet chocolate chips, divided


CARAMEL FROSTING

3/4 cup butter
2 cups sugar
1/2 cup buttermilk
12 large marshmallows (or 1-1/2 cups mini marshmallows)
1 Tbs.  light corn syrup
1/2 tsp. baking soda

Directions: 
FOR BROWNIES:  Microwave chocolate squares in a small bowl at medium heat until melted.  Stir chocolate until smooth.  Set aside. 


Spread batter into a greased and floured 9 x 13-inch baking pan.  Sprinkle with remaining 1/4 cup pecans and 1/4 cup chocolate chips.

Bake at 350 degrees for 40 minutes or until set.  Cool completely on a wire rack.  Frost evenly with Caramel Frosting.

FOR CARAMEL FROSTING:  Melt butter in a large saucepan over low heat.  Stir in sugar and remaining ingredients.  Cook over medium heat, stirring occasionally, 25-30 minutes or until a candy thermometer registers 234 degrees (soft boil stage).  NOTE:  It only took us about 15 minutes to reach that temperature. 

     Not quite done.                                                               Now it's done.

Remove from heat.  Beat at high speed for 5-7 minutes or until frosting thickens and begins to lose its gloss.  You'll want to spread the frosting over brownies somewhat quickly, before the frosting sets up.  

Enjoy! 


Don't miss a single recipe at Recipe Shoebox.  Sign up on the right for free email updates. 

Read more...

Fun Halloween Food Ideas

Monday, October 31, 2011

I've been doing Halloween dinners for my family and friends for the fast few years. Every year I look forward to planning out new ideas and theme meals. Here are a few that I've done in the past couple of years. These are just pictures with a little "how to" but not a ton of detail. If you're anything like me, sometimes you're just looking for an idea to get those creative juices flowing. I hope I can help out even just a little bit with your Halloween holiday season.

Coffin cake
I baked a cake in a loaf pan and then froze it. Then I cut it into a coffin shape and cut off the top part for the lid. I put cherry pie filling in the middle. Then I used leftover cake crumbs for the ground and piped white frosting hands coming up out of the ground. My only complaint was that this was small. The next time I'd make it in a 13x9 pan.

Stake through the heart chicken nuggets.
This is just chicken nuggets with BBQ sauce. I thought it looked kind of gross so it was appropriate for our Halloween dinner.
Batty brownies
I baked brownies in a spring form pan. When cooled I sprinkled powdered sugar on one side to be a moon. I melted chocolate chips and piped it into bat shapes. Before the chocolate set I added red hots as the eyes.
Eyeballs and brains
This is just spaghetti and meatballs. I used red pepper for the tongue. My boys loved this.

Funny face tostadas
We had tostada shells with all the toppings. Use some re-fried beans so that things stick a little better. Everyone got to create their own face.
Spider pizza
I used the pizza dough in a tube and bread sticks in a tube to make this. I made my pizza with our preferred toppings. Then I took some of the bread sticks and criss-crossed them on top to be like a web. Take a spare bread stick and roll into 2 balls with one being larger than the other. This is the spider head and body. Add on some cut in half bread sticks to be the legs. I used olives for the eyes.
Spider guacamole dip
This was actually like a 7-layer dip. I reserved the sour cream in a baggie and piped a spiderweb on it. For spiderweb instructions go here.Frankenstein dip
This is a spinach dip underneath with a Frankenstein guacamole on top. I used sour cream and olives for the eyes, olives for the hair and bolts, and red pepper for mouth. I found a Frankenstein picture on line and printed it out. I traced it onto the cold spinach dip with a toothpick and then filled it in with the guacamole.
I hope you enjoyed these ideas and have as much fun coming up with ideas and making them as I do. Have a great Halloween party! Happy Halloween!


Click here to see a menu of all of our Halloween recipes in one place and be sure to stop by Recipe Shoebox every day this week for more fun Halloweeny recipes!


*****************

Read more...

Brownie Bottom Cheesecake

Monday, July 25, 2011

In honor of National Cheesecake Day coming up on July 30, we here at the Recipe Shoebox, are going to post a new cheesecake recipe every day this week!  Make sure you stop by every day for a new cheesecake recipe and look out for a cheesecake Linky Party later this week where you can come link up your favorite cheesecakes as well!  

From Jen:  Cheesecake is one of my favorite desserts and this recipe is one of my favorite cheesecakes to make. It's versatile, super good, and easy and I always get great compliments when I make this.   How can you go  wrong with brownies and cheesecake combined into one dessert? I first found this recipe in a Philadelphia Cream Cheese Collection cookbook. Although I am one to stray from a recipe, I haven't changed much at all with this one because it's perfect just the way it is. Here's the original recipe from the
Kraft website. But I always change what I put on the top or mix into the cream cheese. My favorite is simply cheesecake with canned cherry pie filling.
Click here for printable recipe.


Posted by Jen

The Ingredients:

1 package brownie mix (plus all the ingredients required on the box)
3 packages (8-ounces each) cream cheese, softened
3 Tbsp corn starch
3/4 c sugar
1 tsp vanilla
3 eggs
1/3 c whipping cream* (or whole milk in this case because I didn't have any cream)

*the Kraft and Philadelphia recipes call for 1/2 c sour cream instead of liquid cream. This works great as well, I just didn't have any on hand

The Directions:

Grease a 9 inch springform pan. (or today I actually used a 9x13 pan). Line bottom of springform pan with parchment paper or line 9x13 pan with parchment paper hanging over the edge so you can remove them easily.

Prepare brownie mix as directed on box. Pour into prepared pan.
Bake according to directions on brownie box for 9 in square pan (if using a springform) or 9x13 pan. When it comes out of the oven, prick it all over so as to create texture for the cream cheese layer to stick better.
While the brownies are cooking, prepare the cream cheese batter. Beat the softened cream cheese with the corn starch and sugar until smooth. Lumps can help contribute to cracks in the end, so make sure it is smooth. Mix in eggs and vanilla. Beat in cream (or sour cream) just until it's all mixed in.
Pour batter over brownie crust and smooth it out.
Bake in 350 degree oven for 55 minutes to 1 hour. (but start peaking at it at about 45 minutes). You know it's done when most of it is set but the center is still slightly wiggly. Cracks and brown spots will mean you over cooked it a little, but that will not affect the taste in the slightest. In fact, if you put chocolate or fruit on top, no one will know except you! (See, I have a few little brown spots in this picture, but it was still great!)
Run a knife or spatula around the edges to loosen the cake. Let cool all the way on a cooling rack and then refrigerate at least 4 hours. You can also put this in the freezer for later but just wrap it up well when cooled. When ready to serve loosen the sides of the springform pan and if you want to move it to a platter for presentation, then carefully remove the bottom parchment paper. If you have used a 9x13 pan then, when you are ready to serve, you can lift it out of the pan and cut into nice squares. Use a pizza cutter. It makes nice clean lines.I have made this cheesecake so many times. Here is the same cake cooked in a springform pan covered with chocolate ganache. Then I topped it with cherry pie filling and piped whipped cream around the edges.
Here is another where I piped the chocolate across the top and placed maraschino cherries around the edges. I actually won a contest at my husband's work with this one!


Read more...

About This Blog

My name is Lara and while I'm definitely not a gourmet cook, I do love preparing tasty, healthy meals for my family. Finding new recipes to try and sharing the ones we've already fallen in love with is a passion I've had since college and the reason why I've started this blog! With five kids, I'm usually in a hurry, so you'll find most of these recipes kid friendly and simple to make.

  © Blogger template On The Road by Ourblogtemplates.com 2009

Back to TOP