Showing posts with label easy. Show all posts

Panzanella Salad

Monday, October 3, 2022

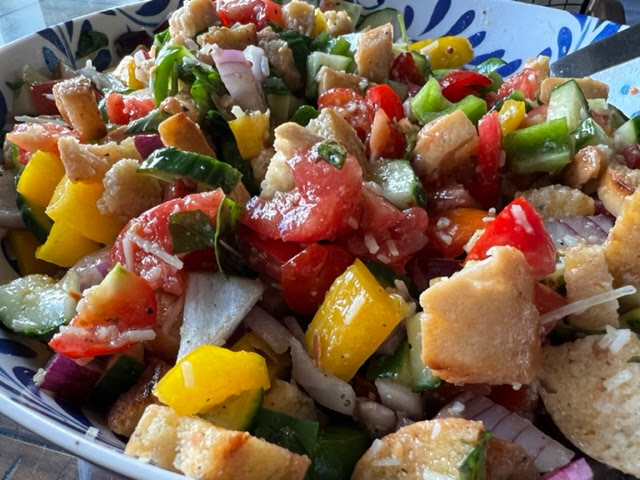
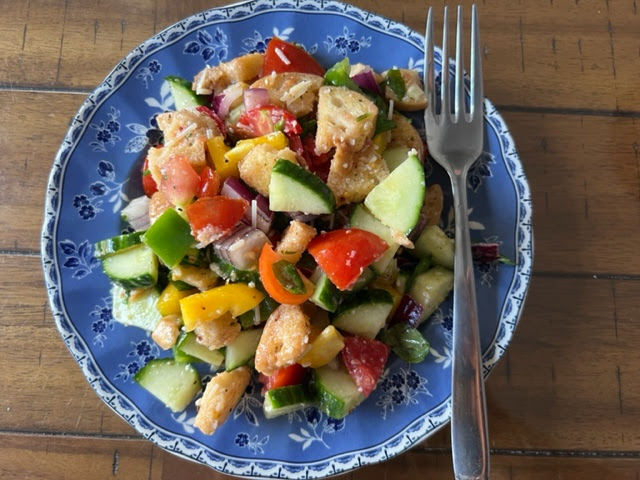
Is anyone else's garden bursting with goodness right now?   Or at least maybe you're tempted by the cheaper prices on all the in-season produce  at the grocery store. This  recipe for panzanella salad was one I discovered a few years ago to use up some tomatoes and cucumbers in my garden and it's one I've been tweaking ever since then.   This year I think I finally got it just the way we like it and I'm excited to share it with you now.     Never heard of panzanella salad?   It's an Italian salad that combines stale or toasted bread with fresh veggies.  My family is obsessed!    

Just a note:  If you don't think you'll be eating all the salad at once, then combine all the ingredients EXCEPT the bread.   Add bread to individual servings as needed.  That way the bread won't get soggy.  

Click here for printable recipe.

THE INGREDIENTS: 


1/4 cup olive oil
16 ounces (or so) french bread (or gluten free bread), cut into 1-inch cubes
1-1/2 - 2-lbs. fresh tomatoes, seeded and coarsely chopped 
1 large cucumber, coarsely chopped
2 bell peppers (any color), chopped into 1-inch pieces
1/3 cup red onion, thinly sliced
1/2 cup coarsely chopped fresh basil
1/4 cup freshly grated parmesan cheese
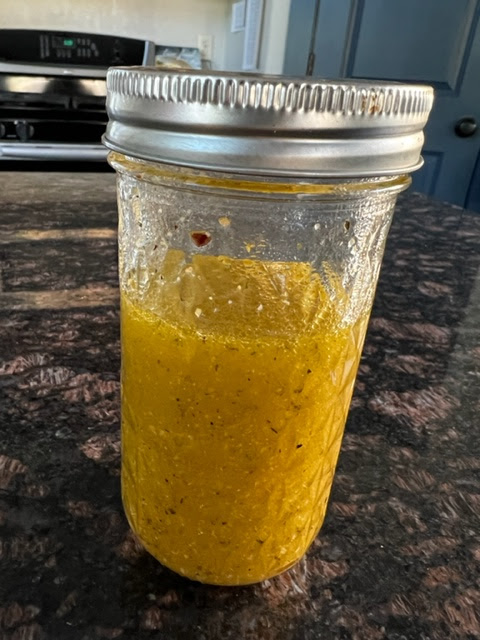
1 envelope Good Seasons Italian seasoning mix, prepared as directed (1/4 cup apple cider vinegar + 3 Tbs. water + 1/2 cup olive oil + 1 tsp. salt, 1/4 tsp. pepper)

THE DIRECTIONS:   
Cube the bread into 1-inch pieces.   Add 1/4 cup olive oil to large frying pan over medium-high heat and toast the bread cubes, stirring frequently until golden brown and toasty.  Set aside until just before serving.  

Chop veggies into 1-inch dices.  Combine into large bowl.   
Prepare Good Seasons dressing mix as directed on package, plus add additional salt and pepper.   (1/4 cup apple cider vinegar + 3 Tbs. water + 1/2 cup olive oil + 1 tsp. salt, 1/4 tsp. pepper).  Set dressing aside until just before serving. 


Shortly before serving, add the toasted bread cubes, parmesan cheese, basil, and dressing.


Stir together until well-combined.  
Serve immediately.  
If you don't think you'll be eating all of the salad at once, I recommend mixing everything together EXCEPT the bread cubes, then add the bread to individual servings.   The toasted bread will get soggy quickly otherwise.  

Enjoy!  


Read more...

Dark Chocolate Rocky Road Fudge

Saturday, December 18, 2021

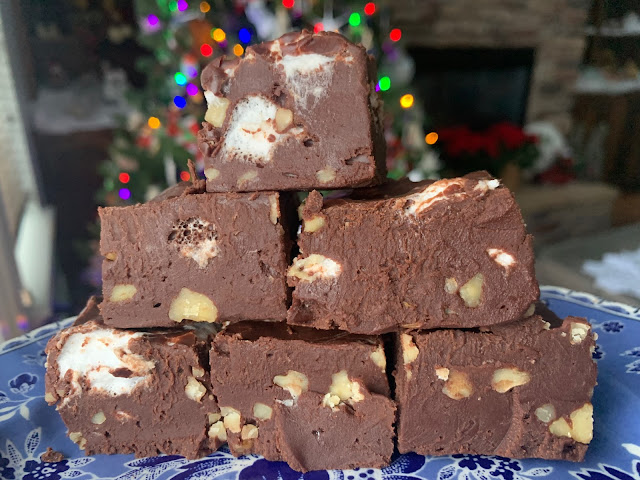
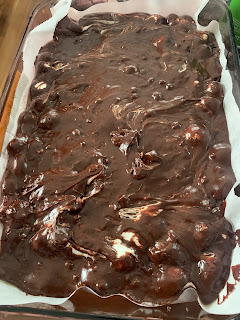
Hello, friends!   Long time, no see.   I interrupt this long hiatus to let you know that I'm still here and still cooking away, though with far fewer kids at home, a lot more gray hairs, and three houses removed from the DC area, where 99% of these recipes were posted from.  I don't eat sweets super often anymore, but here is a recipe I've been tweaking one batch at a time every Christmas over the last several years.  I think I *finally* got it perfect this year and I'm excited to share it with you all.   Who knows maybe I'll post again in another few years?!  Merry Christmas!


Click here for printable recipe. 


The ingredients:  


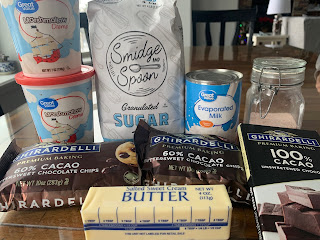
2 cups sugar
10 oz. evaporated milk

1/2 cup butter

13-14 -ounces  marshmallow fluff or creme

1 tsp. salt


2- tsp. vanilla

4 cups (2-10-oz packages) semi sweet chocolate chips (I like the Ghirardelli 60% bittersweet chocolate chips)

4-oz unsweetened baking chocolate


ROCKY ROAD

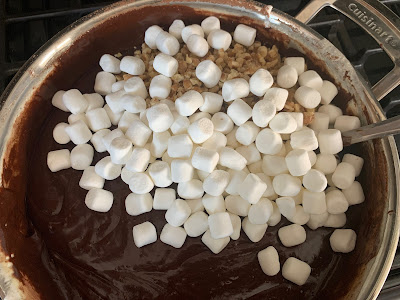
add 1 cup chopped walnuts and 2 cups mini marshmallows 


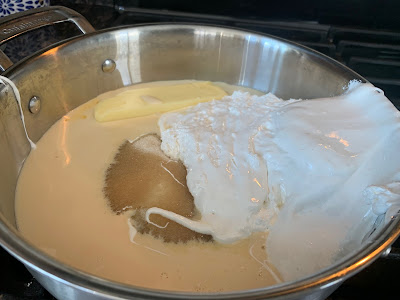
Directions:   Combine first 5 ingredients in a large saucepan.  

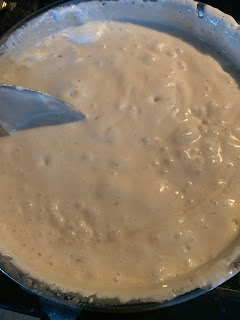
Stir over medium heat until well blended.   Bring to boil, stirring occasionally, but watching closely. Once fully boiling, turn the heat down to low, set the timer for 2-½ minutes,  and stir constantly.  


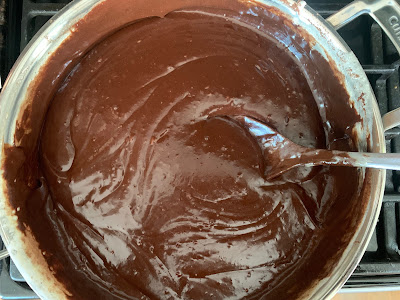
After 2-½ minutes, remove from heat, stir in chocolates and vanilla until chocolate is smooth and melted. 


After the chocolate is smooth and well incorporated, stir in walnuts and marshmallows until just combined. 


Pour into a parchment paper lined 9x13-inch pan and allow to cool.  Store covered. Enjoy!


Read more...

Sheet Pan Fajitas

Tuesday, February 25, 2020

Here is a recipe we've found over the last few years that's become a family favorite.   We did keto for about 6 months to see if it would help with my daughter's seizure control.   It did, but ultimately she decided that it was too hard for her to stick to and we are back to just eating lowish carb, but nowhere near as strict as true keto.  This is one of those recipes we discovered during that time that we will keep on the menu no matter how many carbs we are eating.  It's easy and delicious!   I love how perfectly the chicken turns out every time...no fuss, no muss!     I make them as a fajita bowl over a cauliflower rice/cabbage mixture, but the rest of my family generally eats them in low-carb tortillas.   Of course, you can serve them in whatever you want and they'll still be delicious!  
Click here for printable recipe.    


The ingredients:

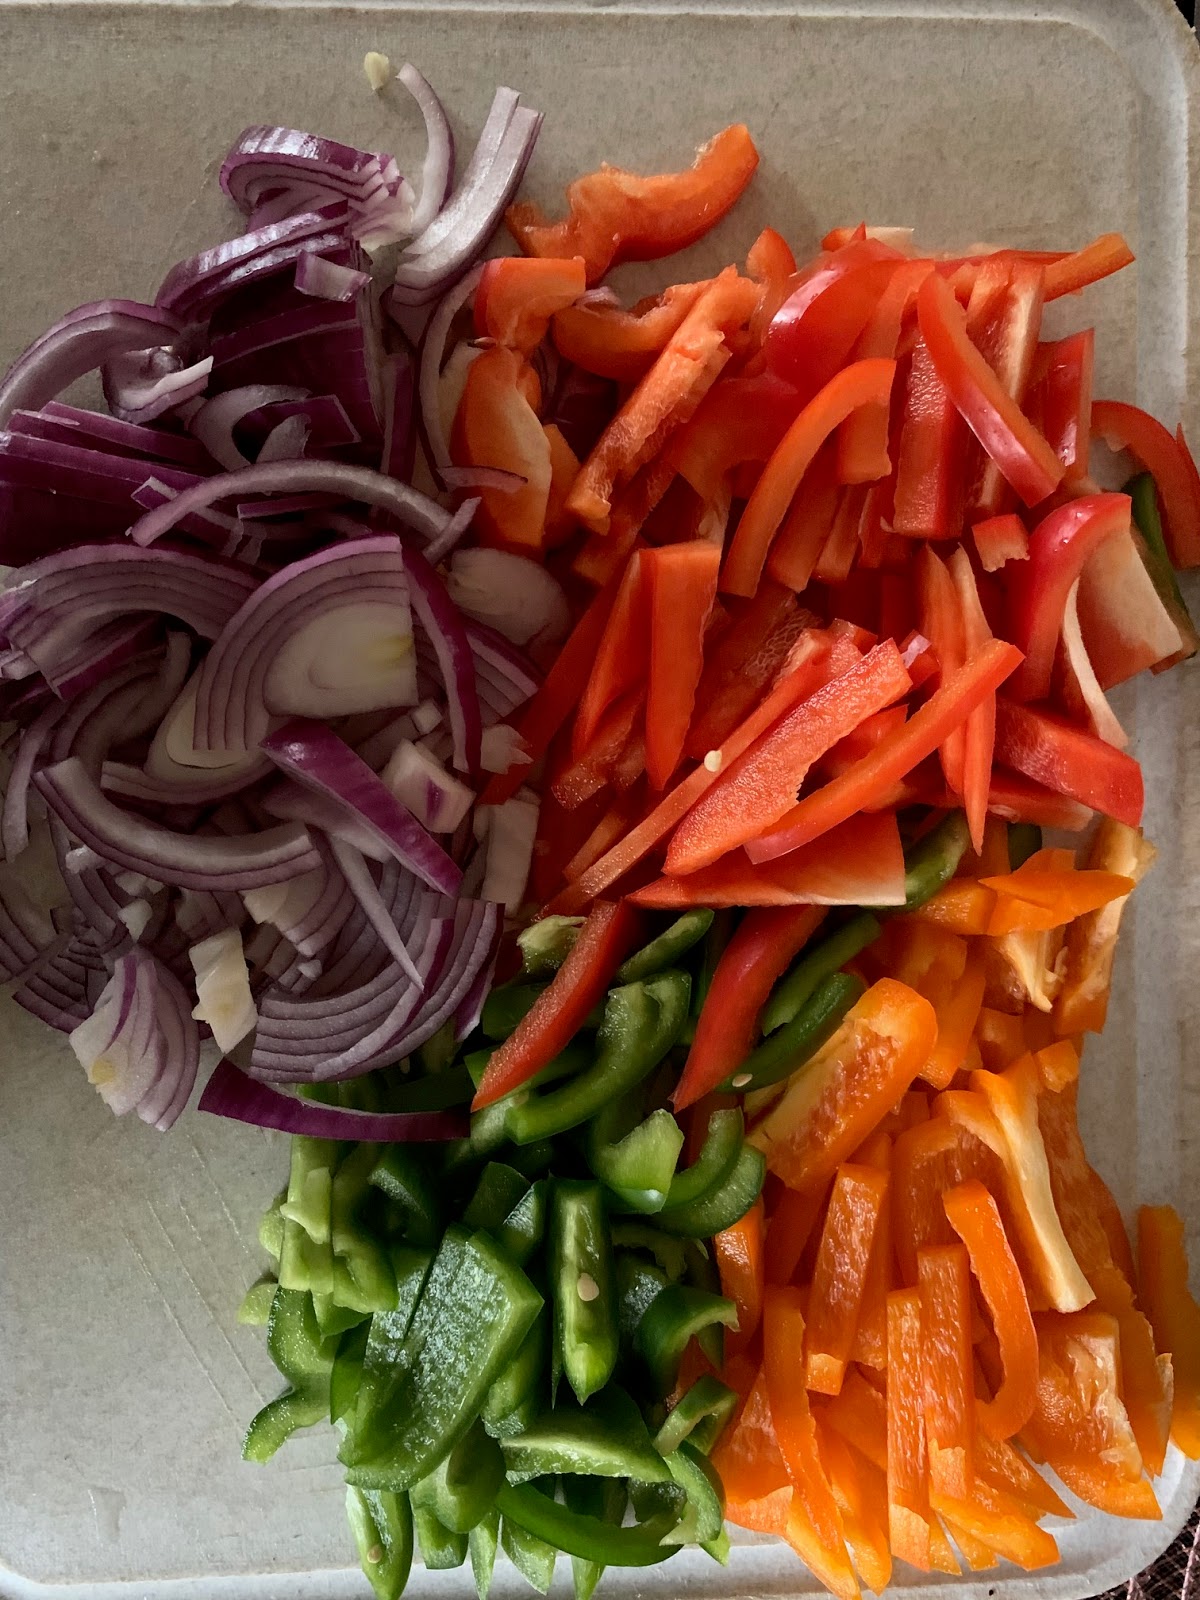
3 bell peppers, thinly sliced
1 small onion, thinly sliced
1/3 cup oil
1-1/2 - 2 -lbs boneless skinless chicken thighs, cut into strips
3 Tbs. taco seasoning (This homemade version makes the perfect amount)

Desired toppings:  sour cream, grated cheddar cheese, salsa,  guacamole
Cauliflower rice* or low-carb tortillas
( *I cooked some shredded red cabbage with my cauliflower rice.  I like the extra color and jolt of nutrition.)

Directions:   Preheat oven to 400º.   Toss together chopped peppers, onions, chicken thighs in a bowl.   Add oil and taco seasoning. 
Toss together and mix well. 

Spread into a single layer on a large cookie sheet. 
Bake for 22-25 minutes, until chicken is fully cooked.   While chicken/veggies are cooking, prepare the cauliflower rice. 
Serve hot over cauliflower rice or in a low carb tortilla with desired toppings. 

Enjoy! 

Read more...

Turkey Wild Rice Salad

Sunday, November 3, 2013

Contrary to popular belief, I haven't fallen off the face of the earth. It's just that in addition to the normal busyness of life with five kids, my kitchen has been in the process of getting remodeled over the last few months and cooking anything, let alone recipe trying has gone totally down the tubes.  I still don't have a fully functioning kitchen, but at least I've got the basics now (countertops, sink, and stove), so we can stop eating frozen meals--YAY!   Now I'm just hoping that I'll be back up to full speed in the kitchen by Thanksgiving.  Stay tuned for before/after pictures and more yumminess to come!  

This recipe is one that I discovered several months ago and it has quickly become a family favorite....just as much for its quick and easy preparation as for how much the whole family loves it.  As a side bonus, it also makes for great leftovers the next day.  Serve with whole grain rolls and a smoothie and you've got a wonderfully tasty, filling, and healthy meal!  

Click here for printable recipe.  

Posted by Lara.


The ingredients:

2 cups cooked, cubed turkey (I used  nitrate/nitrite free  Kirkland turkey lunchmeat from Costco)
2 cups cooked wild rice, cooked as directed on package (I used a wild rice/brown rice blend)
1-1/2 cups red grapes, halved
1/2 cup diced red bell pepper
1/2 cup chopped celery
1/2 cup chopped pecans
4 green onions, sliced
1 cup cubed Swiss cheese (optional)
1/3 cup raspberry vinaigrette, plus more to taste

Directions:  
Toss all ingredients in a bowl and drizzle with dressing.  Makes 4-5 servings. 

If making several hours in advance of eating,  stir together everything but the pecans and add those right before serving.


Enjoy! 

Read more...

Lemon Herbed Chicken and Veggies

Tuesday, June 25, 2013

This is a meal that my 12-year-old daughter made for me on Mother's Day.  She had attended a demonstration with other youth from church on how to make it and afterward she handed me a grocery list and did the rest herself.  I found it so sweet to see how excited she was about it and was delighted when it turned out legitimately very tasty.  We've since made it another four or five times and this recipe ended up being the catalyst for me to get out of my blogging rut and start posting again, because I was worried about losing the recipe that was typed up on a loose sheet of paper.  The chicken needs to marinate for a few hours, but other than that the whole thing comes together very quickly.  In fact, the rice will probably take longer to cook than the chopping and cooking of the chicken and the veggies.  I envision this recipe being a regular part of our meal rotation for a long time to come!    

I made a 1-1/2 batch for my family of 7.
Click here for printable recipe.  

Posted by Lara.

The ingredients:

MARINADE
1/2 cup olive oil
1/4 cup fresh lemon juice
4 cloves garlic, minced
1 Tbs. dried parsley
2 Tbs. chopped fresh basil
1 tsp. salt
1/2 tsp. pepper

4 boneless skinless chicken breasts, cubed
1 pkg (8-oz.) mushrooms (white or cremini), quartered
1 bell pepper (any color), chopped into large pieces
1 red onion, chopped into large pieces

Directions: 
In a gallon size Ziploc bag, combine olive oil, lemon juice, and seasonings.  Add cubed chicken and marinate for 3 hours or longer.   


Spread meat and veggies in a single layer on a large cookie sheet with sides.  Pour marinade over the top.  Broil for 15 minutes.   Or you can skewer them and grill them outdoors. 


Serve over warm rice.  
Serves 4.  Enjoy!  

Recipe Source:  from my friend Julianne 

Read more...

Lemon Cream Pops

Wednesday, May 29, 2013

With popsicle season arriving quickly, I am having fun digging out some of our favorite frozen treat recipes again.  I credit these creamy pops as the recipe that won my family officially over to the joy of homemade popsicles.  They were sweet, but not too sweet and the silky texture was downright addicting!  Next time I will try them with limes instead! 

Recipe Source:  Taste of Home

Click here for printable recipe.

Posted by Lara. 

The ingredients:
1 can (14-ounces) sweetened condensed milk
1 cup whole milk
1/2 cup freshly squeezed lemon juice (it took me 2-1/2 lemons to get the right amount)
1/3 cup sugar
1/2 tsp. finely grated lemon peel

Directions: 
In a bowl, whisk all of the ingredients together until sugar is dissolved. 

Pour into 6-7 ice pop molds or 3-ounce paper cups and insert sticks. 

Freeze for 6-8 hours or until solid. 

Enjoy! 

************************

Don't miss a single recipe.  Sign up on the right for free email updates and/or be sure to "like" our Facebook page and see all of our recipes right in your Facebook home page. 

Read more...

About This Blog

My name is Lara and while I'm definitely not a gourmet cook, I do love preparing tasty, healthy meals for my family. Finding new recipes to try and sharing the ones we've already fallen in love with is a passion I've had since college and the reason why I've started this blog! With five kids, I'm usually in a hurry, so you'll find most of these recipes kid friendly and simple to make.

  © Blogger template On The Road by Ourblogtemplates.com 2009

Back to TOP