Showing posts with label Jen. Show all posts

Dense Chocolate Chocolate Cake

Monday, December 31, 2012

Everyone needs a good chocolate cake recipe and this has been my go to recipe for years.  (I even had a 5 year old girl convinced that she wanted this cake every year for her birthday cake, she thought it was that good!).  I have to admit that I love the ease of cake mixes, but I hate how potentially dry they can be.  With pudding, sour cream, and cream cheese added to the mix, this cake turns out perfectly moist and flavorful....just the way I like it!
 Click here for printable recipe.

Post by: Jen

recipe source: Philadelphia Cream Cheese Collection

Ingredients:
1 8 oz pkg cream cheese, softened
1 c sour cream
1/2 c water
2 eggs
1 box chocolate cake mix
1 4 oz pkg instant chocolate pudding mix
1 c chocolate chips, optional

Directions:
Peaheat oven to 325 degrees.

Cream the cream cheese until it is is smooth. Mix in the eggs, and water and blend until smooth.
 Add in the cake mix and the pudding mix and blend together until all mixed well.
 This is a VERY thick batter.  It may work your beaters!  Stir in the chocolate chips at this point if desired.
Grease and flour your pan.  I love to use a bundt pan for this cake, but it works just fine in 2 round cake pans, or a 9x13 pan.  If I am not covering the cake with a ganache, or frosting, then I like to flour the pan with cocoa powder so as to not leave a flour residue on the cake.  OR if you have the flour/butter spray combo then use that because that stuff is amazing for greasing and flouring pans!
 Spread your batter into the pan.  This is thick, so you will spoon your batter into the pan and then spread it out.
 Bake in a 325 degree oven for 1 hour or until toothpick in center is clean.  It will take less time if using 2 rounds or a rectangle pan.  I would check around 40 minutes.  But check by looking in your oven rather than opening your oven if possible.
 Let cool in the pan for 5 minutes, then invert onto a cooling rack.  (unless you are using a 9x13 pan, and you want to leave it in the pan)  Cool completely.
 You can put whatever you want on the top.  Frosting, chocolate ganache,  fresh fruit, powdered sugar,whipped cream, pie filling,  etc...  Here it is with chocolate ganache.  It will be very chocolaty.  In fact when I made this again recently, my 8 year old son requested that I make it not too chocolaty.
 I love this recipe because it tastes great and it is great to serve to guests.  Plus it looks really cool with powdered sugar!

Read more...

Frosted Pretzels

Saturday, December 22, 2012

I love the flavors of sweet and salty together.  These are about some of the easiest treats to make and everyone loves them.  They are incredibly versatile and can be made for just about every occasion you can think of.  All it takes is two ingredients and then your imagination with the sprinkles.  Here is an assortment showing pretzels for Christmas, Halloween, 4th of July, and a baby shower.  How will you decorate them?!
 
Click here for printable recipe. 


 Post by: Jen


Ingredients:

Almond Bark (often found in the baking aisle next to the chocolate.  I often can find it at Walmart.  You can use candy melts from the craft store as well)
Mini pretzels
wax paper
sprinkles

Directions: 
Break up your almond bark into smaller pieces so as to ensure quicker and more even melting.  Place them in a large non stick pan and melt over LOW heat.
Stir occasionally until everything is melted.  Meanwhile, lay out sheets of wax paper so you are prepared with someplace to put your pretzels. 
Add a handful or two of pretzels at a time.  Carefully fold them into the almond bark so that nothing breaks.  Make sure they are completely coated.

 Using a fork, or skewer or something with prongs that won't scrape your pan,  remove a few pretzels and tap the excess off.  (tap the fork or the skewer against the side of the pan).
 Place the pretzels on the wax paper and separate them so they are not touching.  After you have placed about a dozen on the paper, decorate with your sprinkles of choice.  Make sure that you put your sprinkles on before the almond bark sets.  After sprinkling some pretzels, go back to the pan and continue as above.  Repeat until all the almond bark is gone.  You will have about five or six full 9x13 sheets of wax paper.  Make sure that you have room on your table to store them while they are cooling.

I place my wax paper onto a transferable surface so that I can move the paper if necessary.  Like my plastic dinosaur placemat?!

Here are Halloween pretzels

 Fourth of July or Flag day or Memorial Day pretzels
 Pink or Blue baby shower pretzels
 have fun thinking up other things to do with various holidays,  Just make sure that you use small sprinkles .  It will look better.

Read more...

Pepparkakor (Traditional Swedish Spice Cookies)

Wednesday, December 12, 2012

Recently I was asked to help with a project to bake and mail cookies to people.  I needed to find a crispy cookie that could endure the mailing time and yet still be good.  I don't generally like crunchy cookies, so I asked my husband if he had any ideas.  He instantly said, "Pepparkakor cookies", which are a traditional Swedish Christmas cookie.  (He used to live in Sweden, which is why he thought of it).  After searching the internet for a recipe, I tried them out.  They taste just like those cookies you buy at IKEA.  My husband was very pleased that he could have a little taste of Sweden.  I thought I'd post this for you all because Dec 13th is Saint Lucia day in Sweden.  
Click here for printable recipe.


Post by: Jen
Recipe source: PBS food

Ingredients:
 1 stick butter (1/2 c), softened
3/4 c sugar
1 egg
1/2 tsp vanilla
1 Tbsp maple syrup (or Molasses, or dark Corn Syrup, or Golden Syrup)
1 3/4-2 c flour 
1 tsp baking soda
1 tsp cinnamon
1/2 tsp ground ginger
1/4 tsp ground cloves
1/4 tsp salt

Directions:
Cream the butter and sugar together until fluffy.  Add the egg, vanilla, and syrup. (hint, spray the measuring spoon before measuring the syrup.  It will come out easier)
 Add the dry ingredients.  Mix well into a dough.
 Cover dough with plastic wrap and put in the refrigerator for 2-3 hours.
 Preheat oven to 350 degrees.  After dough is chilled, then roll it out very thin to 1/8 inch on a lightly floured surface.  These cookies are traditionally cut into stars, pigs, or the cute Swedish horses.  (I know you can find the these cookie cutters at IKEA).  But you can cut them into whatever shape you want!

Bake in 350 degree oven for 7 minutes.  For a more crispy cookie, let it cool for 5 minutes still on the baking sheet.  The hot baking sheet will continue to cook it a little more.  if you don't want it too crispy, then remove the hot cookies to a cooling rack.

 These cookies are traditionally very thin and crisp.  They are great for mailing to loved ones.


Read more...

Sunflower Blossom cookies (Peanut free!)

Monday, December 10, 2012

I absolutely love peanut butter cookies and the PB Blossom cookies with the chocolate kisses are one of my favorites.  Unfortunately the day I found out my child was deathly allergic to peanuts was the day I also realized that my children would not grow up with these cookies.  I also realized that I would not be making (or eating) them any more as well.  I was so bummed, but we make sacrifices to keep our children safe. 

Then a friend introduced me to Sunbutter, which is a spread made completely out of sunflower seeds and is peanut free.  I was hooked.  I had tried to make cookies with soy butter and it did not fill the void for my PB cookies.  But Sunbutter cookies were a hit (even for me).  So for all you nut allergy people out there, this one is for you.  (or for all those nut free schools and you a going crazy trying to figure out what treats to bring to school.)   eat as many as you want...they're NUT FREE!!! 
Click here for printable recipe.

Post by: Jen
Recipe inspired by SunButter website

Ingredients:
 1 c SunButter spread, crunchy or smooth  (find it near the peanut butter or in the health food section of the grocery store.  Lara gets hers at Trader Joes.)
1 c butter, softened
1 c sugar
1 c brown sugar, packed
2 eggs
1/2 tsp baking soda
1 tsp baking powder
1 tsp vanilla
1/2 tsp salt
2 1/2 c flour

1/2 c sugar (to roll cookie dough in)
1 bag of Hershey Kisses

Directions:
Cream together the SunButter and the butter until smooth. (Unless you're using the crunchy kind that is, but you know what I mean)

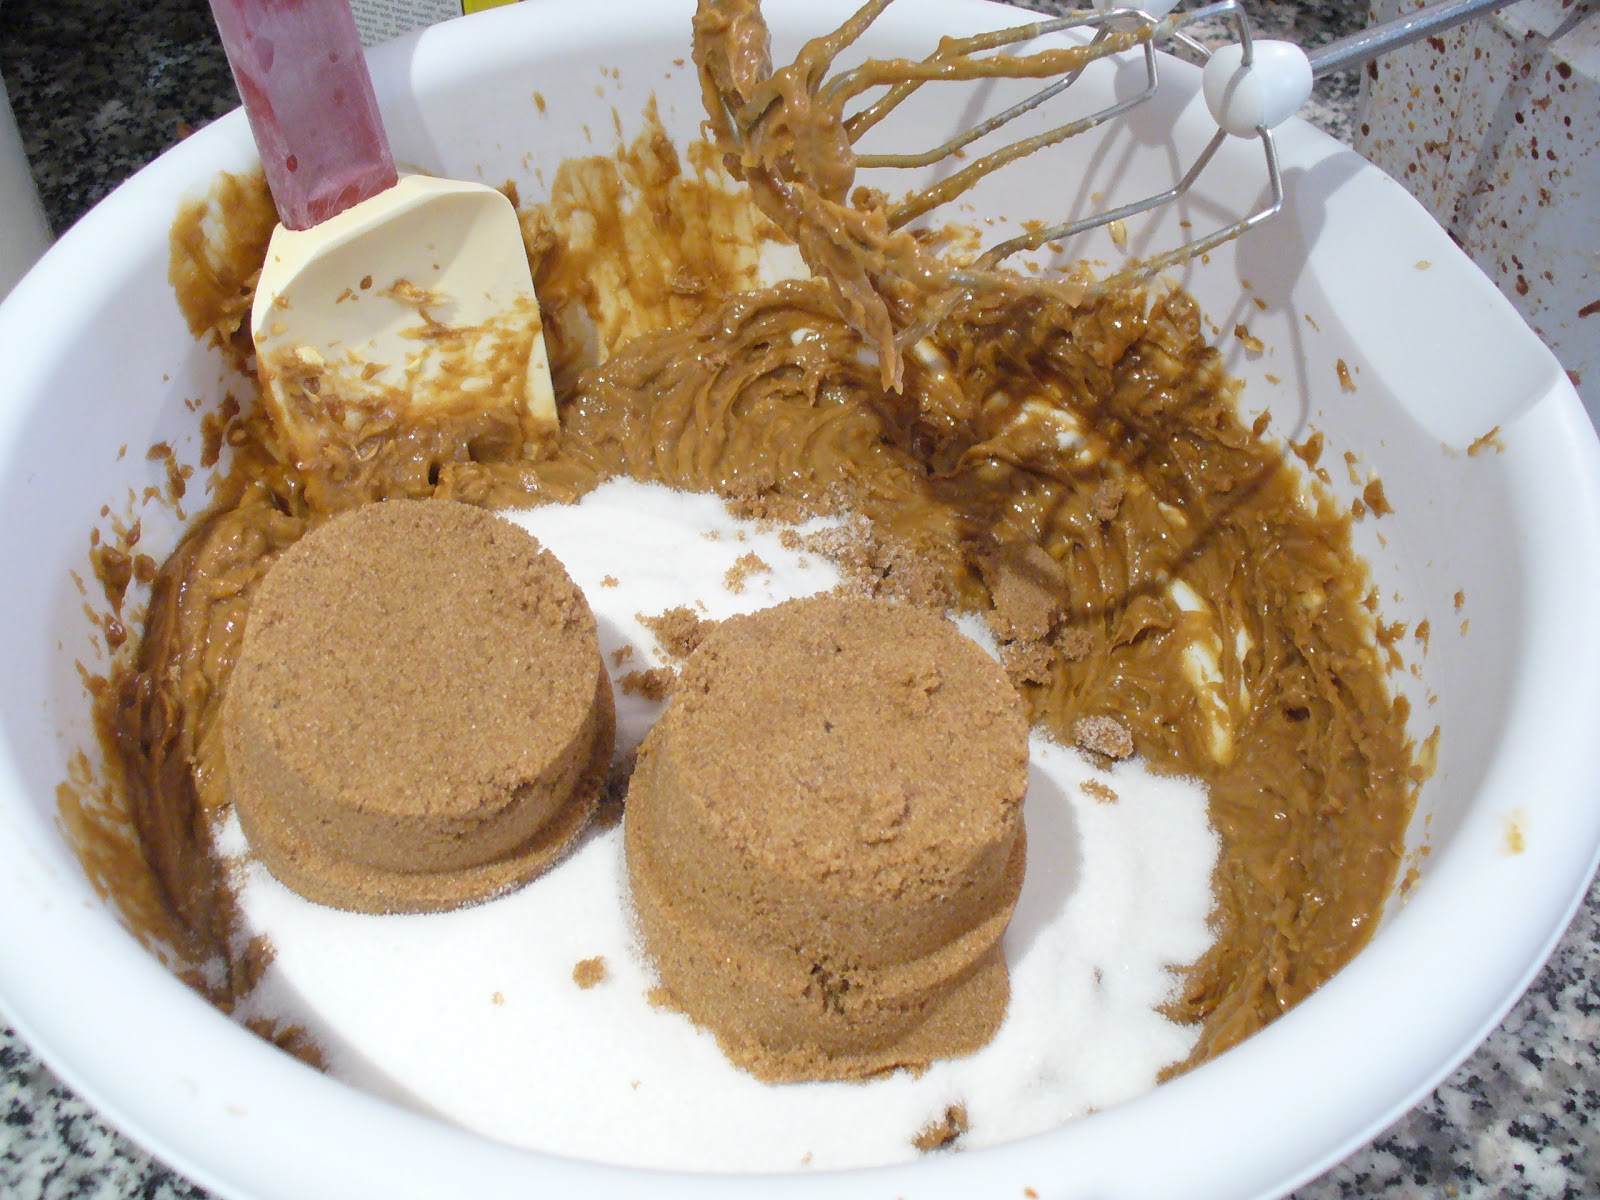
 Add the sugars and mix well until it's all creamed together.
 Add the eggs and vanilla.  Then mix in the dry ingredients.
 And here's the dough.  (By the way if you forget the eggs, like I did with the first batch, you can eat as much raw dough as you'd like.  In fact, I rolled the eggless dough into balls and then dipped them into chocolate.  Yummy).
 Refrigerate your dough for about 1/2 hour.  This will make it easier to roll into balls.

Turn on oven and set to 375 degrees.  After refrigeration, roll into small balls and roll balls in remaining 1/2 cup sugar.  (which hopefully you put into a small bowl)
 Place evenly on cookie sheet and bake in 375 degree oven for 8 minutes.
 Meanwhile, unwrap your chocolates.  Kids can help with this as well.
 When the cookies come out of the oven, immediately start pressing the chocolate Kisses in the middle of the cookie.

 I love how those little cracks appear on the sides when you press in the chocolate.  Work quickly and remove cookies to a wire rack to cool.  This recipe made a lot, as you can see, but I can't remember how many because they got eaten up rather quickly (and I sent them to school as well).  But my son was so happy to finally be able to try one of these.  It's so wonderful watching your children be able to enjoy the same foods you grew up with.  Thank you SunButter!

Read more...

Brownie Santa Hats

Wednesday, December 5, 2012

I saw these online somewhere last year.  I don't remember where I saw it first, but now it is all over the internet, so I don't even know who to thank.  Anyway, these are cute and super easy.  You can get your kids involved to make these as well.  The hardest part might be finding decent strawberries this time of year. Ho Ho HO! 
Click here for printable recipe.


Post by: Jen


Ingredients:
brownie cake mix
 eggs
vegetable oil
Cool Whip
Strawberries

Equipment needed:
mini muffin tin
Piping bag with star tip (not totally necessary because you could use a sandwich baggie if needed)

Directions:
Grease 2 mini muffin tins (with spray).  Preheat oven to 350 degrees or whatever it says on the back of your brownie box.

 Follow the directions on the back of the brownie box.  Mix in your eggs and oil well.
Spoon batter into mini muffin tins.  It may only take one or one and half tablespoons of batter.
Bake in oven for 10-15 minutes (depending on how done in the middle you like your brownies.  If not sure, then cook them until a toothpick inserted in the middle comes out mostly clean.
Let cool completely on a wire rack.
Meanwhile, wash and dry the strawberries you are going to use.  You will be using one strawberry per mini brownie. (unless you manage to eat a couple brownies while they're warm of course).  Cut of the tops of the strawberries so they can stand up flat.
Spoon the Cool Whip into a piping bag fitted with a star tip.  Or just use a sandwich baggie with a little corned cut out.  But then you may not have a cute dollop of cream on top to look like a ball.  * Use Cool Whip because it will last longer when piped.  If you are serving these immediately, then you can use real whipped cream but it won't hold it's shape for long . OR if you have a recipe you like for decorating whipped cream then use that.

Squirt out some cream on top of the cooled brownie.
Push the strawberry into the middle a little bit so that some of the cream will come up the bottom sides of the berry.
Pipe a little dollop of cream on top to look like the top of Santa's hat.
And now you have cute Santa's hats that are chocolaty and semi good for you thanks to the strawberry.

Read more...

About This Blog

My name is Lara and while I'm definitely not a gourmet cook, I do love preparing tasty, healthy meals for my family. Finding new recipes to try and sharing the ones we've already fallen in love with is a passion I've had since college and the reason why I've started this blog! With five kids, I'm usually in a hurry, so you'll find most of these recipes kid friendly and simple to make.

  © Blogger template On The Road by Ourblogtemplates.com 2009

Back to TOP