Jello Mousse

Friday, August 3, 2012

I make this quite often for my family and I can't believe I haven't shared it here.  And it's soooo easy!  If you're ever wanting something like a mousse, but don't want to take the time to actually make a mousse, turn to your favorite jello flavor.  It's not just gelatin, but it can be transformed  into something fluffy. 
Click here for printable recipe.


Post by: Jen

Ingredients:
4 small boxes of your favorite jello flavor
8 oz Cool Whip (the smaller container)
2 c hot, boiling water
2 c cold water

Directions:
Add jello to 2 cups boiling water and dissolve all the way.  (I use my microwave).
I used sugar free jello because there is plenty of sugar in the cool whip, but it's up to you.
After the jello is dissolved, add the 2 cups of cold water.  Mix together.
Place in the refrigerator (in its bowl) until completely cooled and starting to set. It's still ok if it's a bit liquidy.
 After a couple hours in the refrigerator, remove and add the cool whip.
 Blend it all together with your beaters.  Make sure to scrape down the sides often so you don't have any random blobs of cool whip.
 Pour into a 9x13 pan and place in the refrigerator until it is solid.  Generally 2-3 hours, but just to be safe give it the whole afternoon.
 Remove from refrigerator, slice squares with a hot knife and serve.

 If you touch your finger to it to see if it's all the way set, then your fingerprint will rest on the top of the jello so that everyone can see that you touched it.  (see above).  Oops!


*****************************

Want to see links to your favorite recipes from Recipe Shoebox in your Facebook feed?  Be sure to "LIKE" our Facebook page!   


Read more...

Carrot Cheesecake Bars

Monday, July 30, 2012

  I love carrot cake.  There, I've said it.  I like to think to myself that it is somewhat healthy and I can therefore justify eating a lot of it.  I was recently looking through one my my cookbooks and found a recipe for carrot cheesecake.  It was bright orange.  I thought to myself,  "Why not put all the ingredients you would put into a carrot cake into a cheesecake?" So, if you love carrot cake AND cheesecake then this is for you.  I was pleasantly surprised how well it turned out and I love the moist bites of cheesecake with the pineapple and a hint of cinnamon.  And yes, it was even better the next day when I ate it for breakfast. 

Happy National Cheesecake Day!  Click here to see our other delicious cheesecake recipes here at Recipe Shoebox. 
Click here for printable recipe.


Post by: Jen


Ingredients:
(for a 9x9 pan):
1 c gingersnap cookie crumbs
1/4 c butter, melted
2 8 oz pkg cream cheese, softened
1/2 c sugar
3 Tbsp corn starch
2 eggs
1 tsp vanilla
1 c pureed carrots/baby food carrots (I used two jars)
1/2 tsp cinnamon
1/4 tsp nutmeg
3/4 c crushed pineapple, drained well
1/2 c raisins, soaked

Directions:
Preheat oven to 325 degrees.  Grease a 9x9 baking pan and line with parchment paper.  A note here: use a regular baking pan like a Pyrex pan.  I used my square spring form pan and because the cheesecake batter was quite liquidy, some of it oozed through the cracks.  So use a regular pan, and you won't have that problem!

Mix gingersnap cookie crumbs and melted butter together until all the crumbs are moistened.  You could also do this with graham cracker crumbs, but I like the added spice flavor of the gingersnap.

Press well and evenly into baking pan and bake for 10 minutes.  Remove and cool while preparing the cheesecake batter.  Increase oven to 350 degrees for the cheesecake.
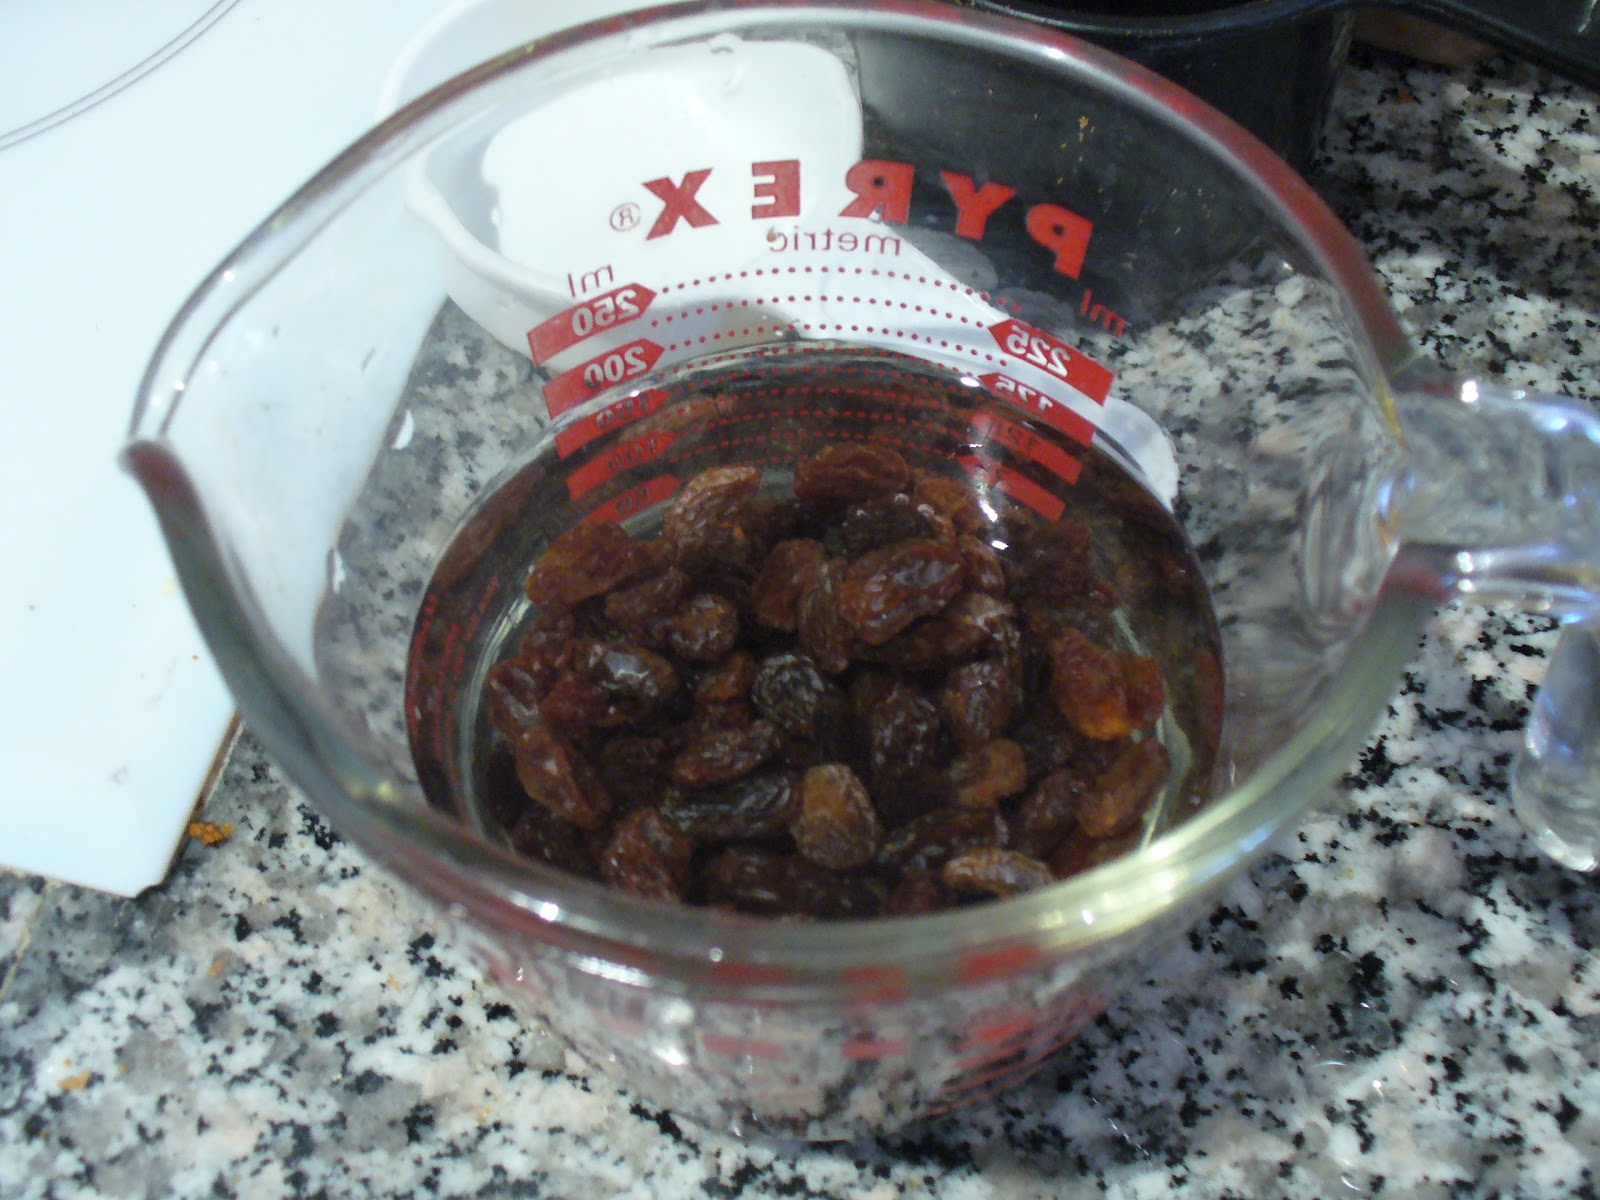
Place the raisins into a cup and cover with water to let them soak and plump up.
In a mixing bowl blend the cream cheese, sugar, and corn starch.  After it is all smooth, blend in the eggs, one at a time.  Then add the spices and vanilla.  After it is all blended, then add the pureed carrots.  Mix well.
Drain the pineapple really well.  You don't want more added liquid.
Add the pineapple and soaked raisins (NOT the raisin water) to the mixture and stir until it's all evenly mixed.
Pour on top of baked crust and bake in oven for 35-45 minutes, or until center is mostly set.  Mine took 40 minutes. Sorry I don't have a picture when it came out. I apparently got distracted.  But it came out just fine!

Let cool completely on counter and then place in refrigerator for a couple hours.  Slice into bars and top with whipped cream.  Or you can top with cream cheese frosting if desired.


I imagine you could make this in a 13x9 pan just as easily.  Here are the amounts that I would change if you do use a bigger pan.

2 c gingersnap crumbs
1/3 c butter, melted
3 pkg cream cheese
3/4 c sugar
4 Tbsp corn starch
3 eggs
1 tsp vanilla
1/2 tsp cinnamon (or a pinch more for taste)
1/4 tsp nutmeg
1 1/2 c baby food carrots
1 c crushed pineapple, drained
3/4 c raisins, soaked

Cook the crust for 10 minutes.  But cook the cheesecake for 45-60 minutes.  


*****************************
Want to see links to your favorite recipes from Recipe Shoebox in your Facebook feed?  Be sure to "LIKE" our Facebook page!   


Read more...

Super Easy Mini-Cheesecakes

Saturday, July 28, 2012

If you've ever craved cheesecake or needed to make a last-minute dessert for a party and didn't want to go through the all-day process that most cheesecakes take, then this recipe is for you!    They take literally 5-minutes to throw together and bake for about 20-minutes in a cupcake pan.  Let them cool for a little while and they're ready to go in under an hour!  They're so easy, I let the kids make them completely themselves.    In addition to being a perfect weeknight dessert, I also love that they're perfectly portioned so I don't end up eating half the pan myself.  :)  My family adores these fun little treats and they also make for a great party finger food! 
Remember July 30th is National Cheesecake Day, so be sure to check out all of the cheesecake recipes we have here on Recipe Shoebox.
Click here for printable recipe.

Posted by Lara.

The ingredients:


2 pkg. (8-ounces each) cream cheese, softened 
2 eggs
3/4 cup sugar
1 Tbs. lemon juice (optional)
12 vanilla wafers
paper cupcake liners
your favorite pie filling (or for turtle cheesecake variety:   pecan halves, chocolate syrup, and caramel ice cream topping)


Directions: 
Beat the cream cheese until smooth.  Add the sugar, eggs, and lemon juice to the cream cheese and beat until creamy.  Place one vanilla wafer in the bottom of each cupcake paper in a muffin pan. 

Spoon the cream cheese mixture over the top of cookies about 3/4 full.

Makes 12 mini cheesecakes.  Bake at 350 degrees for 20-25 minutes.  Cool* and top with about a tablespoonful of pie filling. 
*NOTE:  The centers of the mini cheesecakes will sink as they cool.  It makes a perfect little indentation to hold the pie filling in place. 
Store in an airtight container in the fridge.

Enjoy!

TURTLE CHEESECAKE VARIETY:  Instead of topping with pie filling, add a pecan half,  a drizzle of caramel, and a drizzle of chocolate syrup!  YUM! 

*****************************

Want to see links to your favorite recipes from Recipe Shoebox in your Facebook feed?  Be sure to "LIKE" our Facebook page!   


Read more...

Mango Lime Cheesecake

Thursday, July 26, 2012

A couple months ago a friend of mine sent me an email telling me all about a slice of Mango Key Lime cheesecake she had at the Cheesecake Factory.  She searched for a copycat recipe but after not finding one, she gave me the challenge.  My mission was, should I choose to accept it (duh...it involved cheesecake!), to figure out the recipe for the Mango Key Lime Cheesecake.  It has a coconut macaroon crust, lime cheesecake, a layer of fluffy mango mousse, and finally a mango glaze to top it off.  So I searched online and jotted down some ideas, but it wasn't until I finally had the opportunity to try it for myself that I was hooked.  I love the tropical flavors of the mango and lime together with the coconut in the crust.   If I wasn't already on vacation, I could have closed my eyes and pretended I was in the tropics somewhere.  Yeah...it was that good.  Now, I can't profess that this is an exact copy of the Cheesecake Factory, but it's pretty close, just less whipped cream!

July 30th is National Cheesecake Day, which means that Cheesecake Week has returned to Recipe Shoebox!  Look here for a recap of all of our past cheesecake recipes and stay tuned for a whole week leading up to July 30th of delicious new cheesecake recipes! 
Click here for printable recipe
Posted by: Jen

Ingredients:
For the cheesecake:
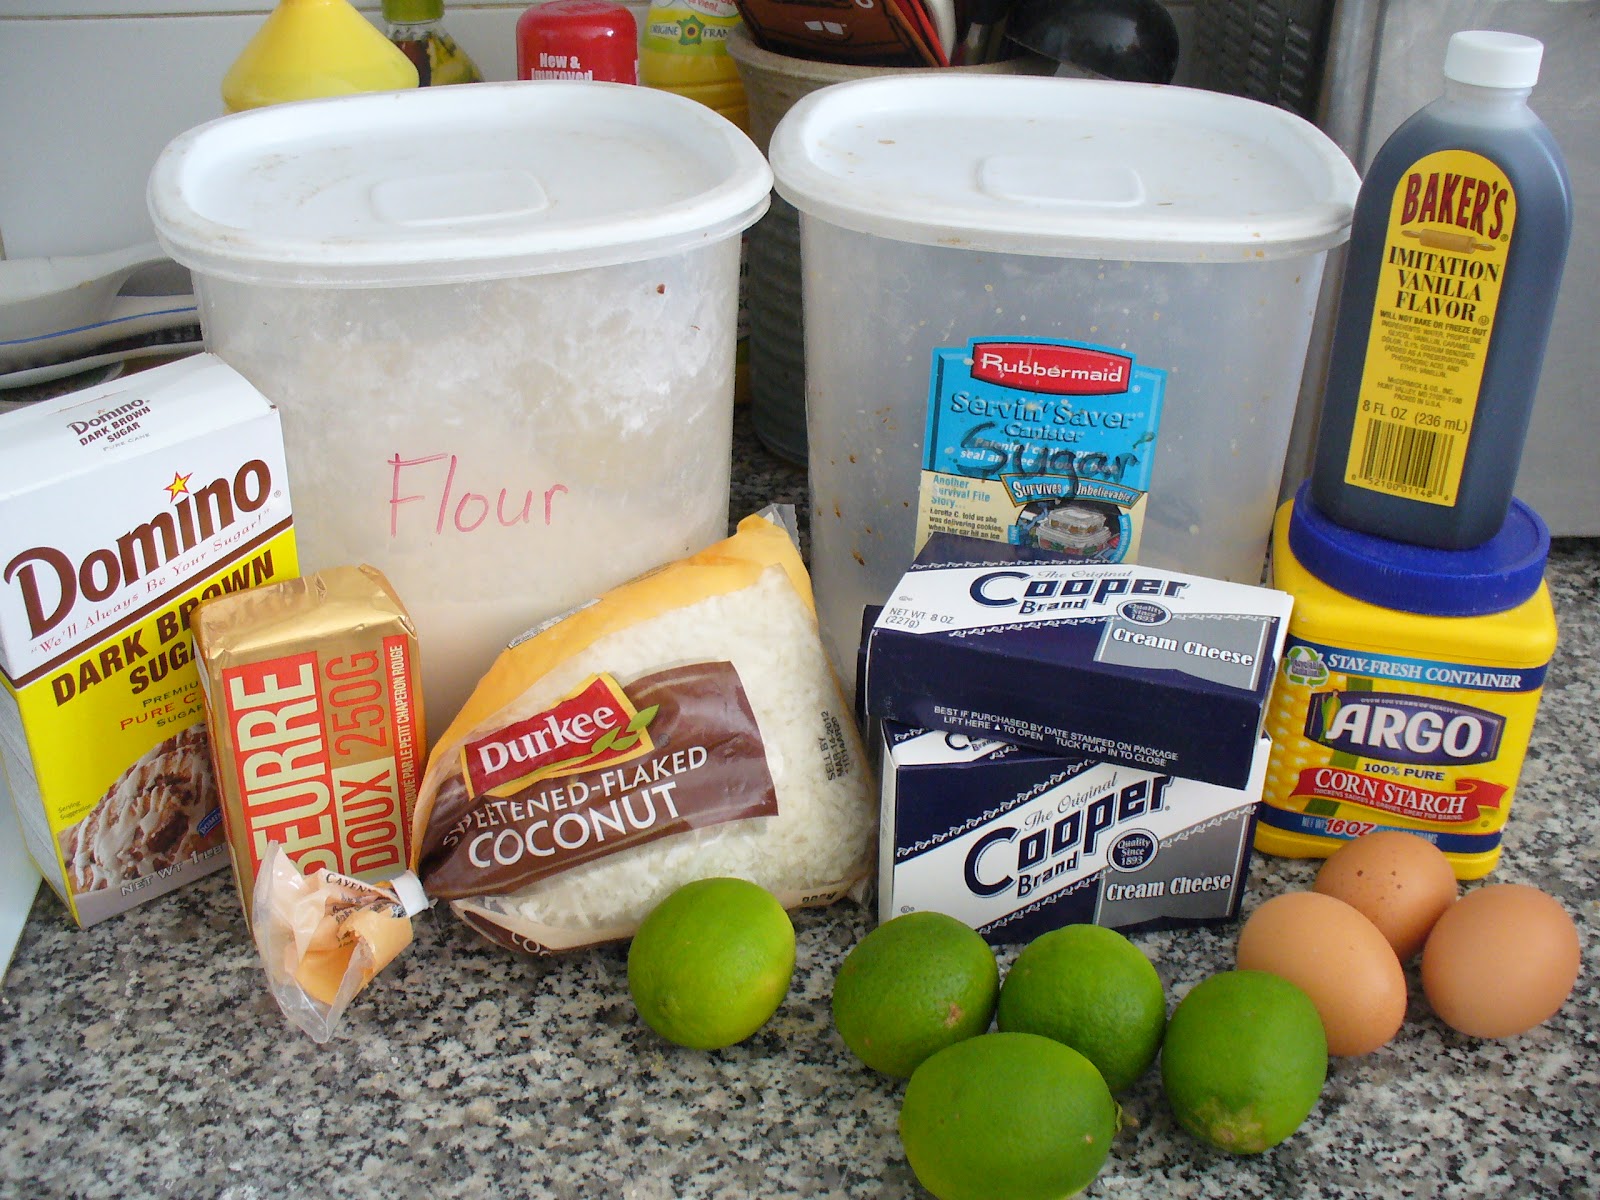
 1 c flour
1/4 c packed brown sugar
1/3 c butter, softened
2/3 c coconut
3 pkg. (8-ounces each) cream cheese, softened
3 Tbsp corn starch
3/4 c sugar
2 eggs
1 tsp vanilla
zest of 2 limes
1/2 c lime juice, which is 5 limes (if using Key limes, use half the amount)

Directions:
Preheat oven to 350 degrees.  Spray the inside of your cheesecake pan with nonstick spray and line the bottom with parchment paper.  (not totally necessary, but I don't like to take my chances of crusts sticking)

Blend the softened butter and the brown sugar together until creamy. Then mix in the flour.
 Stir in the coconut.  If you want a more pronounced coconut flavor, add 1/4 tsp coconut flavoring. (I didn't have any, but I remember that the Cheesecake Factory version had a more coconut flavor.  Perhaps one could add a little more coconut)
 Press into bottom of spring form pan and bake for 10 minutes.
 Meanwhile, prepare your cheesecake batter.
In a bowl cream together the cream cheese, corn starch, and sugar until it is all smooth and creamy.  It will all be creamy IF your cream cheese was all the way softened.  This will help prevent any cracks, but it won't matter with this cheesecake if you have a few cracks.

Blend in the vanilla and the eggs, one at a time. 
After the eggs are all mixed in, then add the zest of two limes.
 Squeeze the juice out of the 5 limes which should be about 1/2 cup.  I read on my lime package that one gets more juice if cut the long way.  I don't know if that's true, but I did it anyway.  Just make sure that you don't have a paper cut on your finger before doing this.  Stings like crazy!
 Add the juice to the batter and mix well.
 Pour onto prepared coconut crust.  Bake in oven for 45-50 minutes, or until the center is slightly wiggly.  (It may take up to an hour depending on your oven)
 Remove and cool completely before putting in the refrigerator.  See, I have a couple cracks on the edge, but it won't matter because we're covering it with mango mousse.  Now, onto the mousse...

Ingredients for Mango Mousse:
 2 c mango pulp (about 2-3 ripe mangos, pitted and peeled)
2 tsp lemon juice (or orange juice)
1 small pkg sugar free orange jello (or 2 tsp plain gelatin if it's easier for you)
2 c heavy whipping cream
2 Tbsp powdered sugar

Peel and pit your mangos.  Purée them in a blender.  OR if you happen to have an immersion blender, then just place them in a small pan.
Once they are puréed, add the lemon (or orange) juice and then heat in a small pan.
When they are hot, sprinkle on the gelatin, and stir in so all the gelatin is well blended and dissolved.  OR you can heat up 1/4 cup hot water and dissolve the jello in the water and then mix it all into the mangos.  I believe it is easier that way.

Once jello is dissolved, remove from heat and let cool.

Meanwhile, whip your cream.  Sprinkle on a couple tablespoons of powdered sugar.  Whip until light peaks appear.  Over beating will curdle.  Make sure you have a high fat content whipping cream.  If not, then it will NOT whip.  (which is unfortunately what I discovered with my cream.  So I made up for it by adding a little Cool Whip.)  However, I KNOW that if your cream is whipped you do not need the cool whip.
Once you have your cream whipped, fold it into the cooled mango mixture.  It may appear to not be very thick, but the jello will help that.
My added Cool Whip.  Hopefully you can skip this step.
Pour onto the cooled cheesecake and refrigerate until mousse is firm.  Now onto the glaze.

Ingredients for the Mango Glaze:
1 mango, peeled and pitted
1 tsp lemon juice (or orange juice)
2 Tbsp cold water
2 Tbsp corn starch

Once again, puree your mangos either in the blender or with an immersion blender.  Once again place them in a small pan on the stove. Add the juice to the purée and heat the mixture to a low simmer.   (Hint, just rinse out the pan you used last time for the mousse.  You don't even need to clean it because you're using the same ingredients.)
Make a slurry of corn starch and cold water.  Just mix the two together until the corn starch is dissolved.  
Pour the corn starch mixture into the hot mixture and stir it in well.  It will gradually thicken.  When it does get thick, remove from heat and let cool a little.
Pour glaze onto the mousse and smooth it all over the top.  Place back in the refrigerator until ready to serve.
Before serving, you may want to heat up a flat knife (then dry it so the blade is warm).  Run it around the edges just to make sure that everything will come clear easily from the side of the spring form pan.
Sit back and pretend you are in the tropics on a vacation.  You deserve it after the work you've put into this dessert.


*****************************
Want to see links to your favorite recipes from Recipe Shoebox in your Facebook feed?  Be sure to "LIKE" our Facebook page!   


Read more...

About This Blog

My name is Lara and while I'm definitely not a gourmet cook, I do love preparing tasty, healthy meals for my family. Finding new recipes to try and sharing the ones we've already fallen in love with is a passion I've had since college and the reason why I've started this blog! With five kids, I'm usually in a hurry, so you'll find most of these recipes kid friendly and simple to make.

  © Blogger template On The Road by Ourblogtemplates.com 2009

Back to TOP