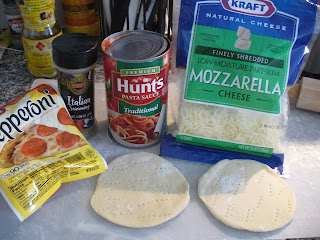
School days are upon us and that means that every evening I am preparing not one, but two school lunches for boys. (just wait until next year when I'm packing 3 lunches!). One of my sons is allergic to peanuts, so that means that PB&J is out of the question. So we're often coming up with different things to eat that the boys will eat. They love pizza, and often take cold leftover pizza in their lunches whenever it's available. One night as I was making home made pizza I thought I would make a whole bunch of mini pizzas, freeze them, and then they are ready to pop into a lunch box. They are perfectly thawed by lunchtime. I think I may have to start actually putting in more than one pizza because the boys gobble it up.
Also check out Lara's post on how to make Homemade Pizza Lunchables.
(and yes, I did put more stuff in his lunch, I just took the picture beforehand. Oops)
Posted by Jen.
Ingredients:
pizza dough (home made or store bought)
pizza sauce
cheese
pizza seasoning
toppings of choice
I'm not including how much, because it depends on how much you make, and what your individual tastes are.
Directions:
Preheat oven to 425 degrees.
Roll out little balls of pizza dough. You want to make sure that it will fit in your sandwich baggies so don't roll it out too big. Poke holes all over the rolled out dough with a fork so that your dough doesn't puff up while baking.
I like to prebake my pizza crust a little, before adding toppings, but that's my choice. I just tend to like a little crispier crust sometimes. Add toppings of choice. My boys pretty much just like cheese. But if I had planned it out better, I would have added pureed carrots or other veggie to the pizza sauce before spreading it on the pizza. I need to find some way to sneak veggies into their school lunches.
Bake for about 10 minutes or until edges are lightly brown and underneath is baked through. (which is why I like to prebake mine for a couple minutes just to give it that head start.)
When they are cooled completely, then place in individual baggies. Place in lunches, or the freezer for future quick lunches.


0 comments:
Post a Comment